
With goals prioritization, you can be sure
everyone is on the same page.

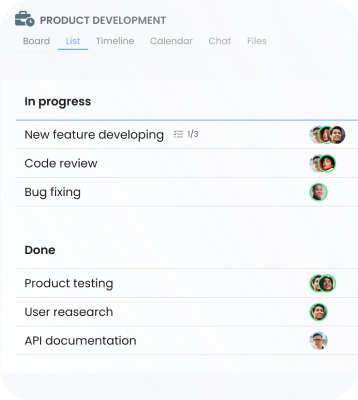
Use tags to add categories to tasks for better
work
organization.

Monitor progress till task completion using checklists.

See your projects from every angle with Board, Timeline, List, Calendar, and Workspace views.

Estimate time in tasks and keep budgets under control.

Boost your team productivity with easy-to-use TimeCamp time tracker.
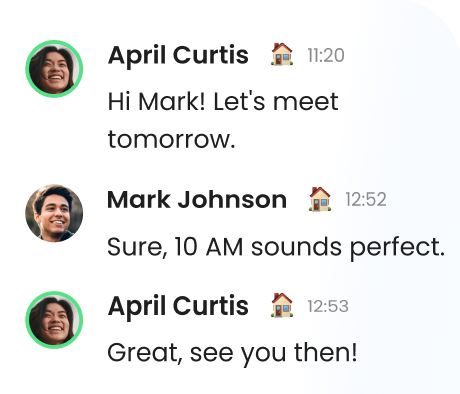
Empower your team collaboration with 1-on-1, group, and task chats.
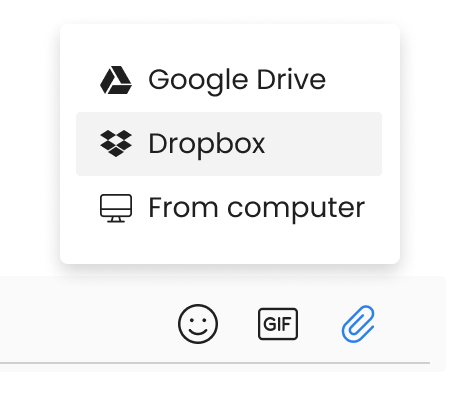
Upload files and store them in one place with centralized access.
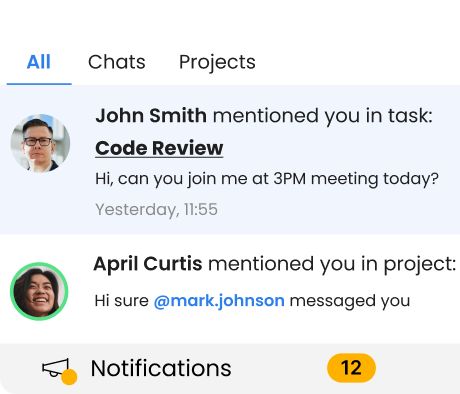
Be sure everyone is informed with notifications for real-time updates.
KhothatsoFreelancer
MagdaOwner
MagdalenaMarketing Specialist
AndrewCEO Computer Games
FelishaBookkeeping & Tax Preparer
Víctor JoelIT Director
SamMid-Market
KingaOwner & Creative Director
Gain access to additional services with integrations supported by
TimeCamp
team collaboration.